Understanding MiniDV Tapes and Their Format
In the world of digital video, understanding the formats we work with is essential for effective video management and preservation. One such format, the MiniDV, was once a staple for home video recording and independent filmmaking. MiniDV tapes are encoded in a digital format, which distinguishes them from traditional analog tapes. This article delves into everything you need to know about Minidv to digital, covering methods for conversion, the importance of digitization, and how to choose the best approach for your needs.
What is MiniDV and Why It’s Important to Digitize
MiniDV, a digital video format launched in 1996, quickly gained popularity due to its high-quality video output and relatively low cost. These tapes can store up to 60 minutes of video at a resolution of 720×480 pixels, making them an attractive option for both amateur and professional videographers. However, as technology evolves, preserving these tapes through digitization is crucial. Not only does this help in securing valuable memories against degradation, but it also enhances compatibility with modern devices and editing software.
The Essential Features of MiniDV Tapes
MiniDV tapes bring a host of features that contributed to their popularity:
- Digital Recording: Unlike analog formats, MiniDV captures video data in a digital format, resulting in better picture quality that is less prone to degrade over time.
- Compression Technology: These tapes use a compression algorithm that maintains high video quality while minimizing storage space.
- Easy Playback: MiniDV uses standard DV format, which is widely supported by many video editing programs and devices, making it easy to edit and share videos.
Key Benefits of Converting MiniDV to Digital
Converting your MiniDV tapes to digital format offers several benefits:
- Preservation: Digitizing tapes preserves content from physical degradation caused by wear and time.
- Ease of Access: Digital files can easily be stored, accessed, and shared on various devices and platforms.
- Editing Flexibility: Digital video files can be edited without the loss of quality, giving you greater creative control over your footage.
Effective Methods for MiniDV to Digital Conversion
When it comes to converting MiniDV tapes to digital, there are several effective methods, each varying in complexity and cost. Understanding these options will help you choose the best method that aligns with your needs and capabilities.
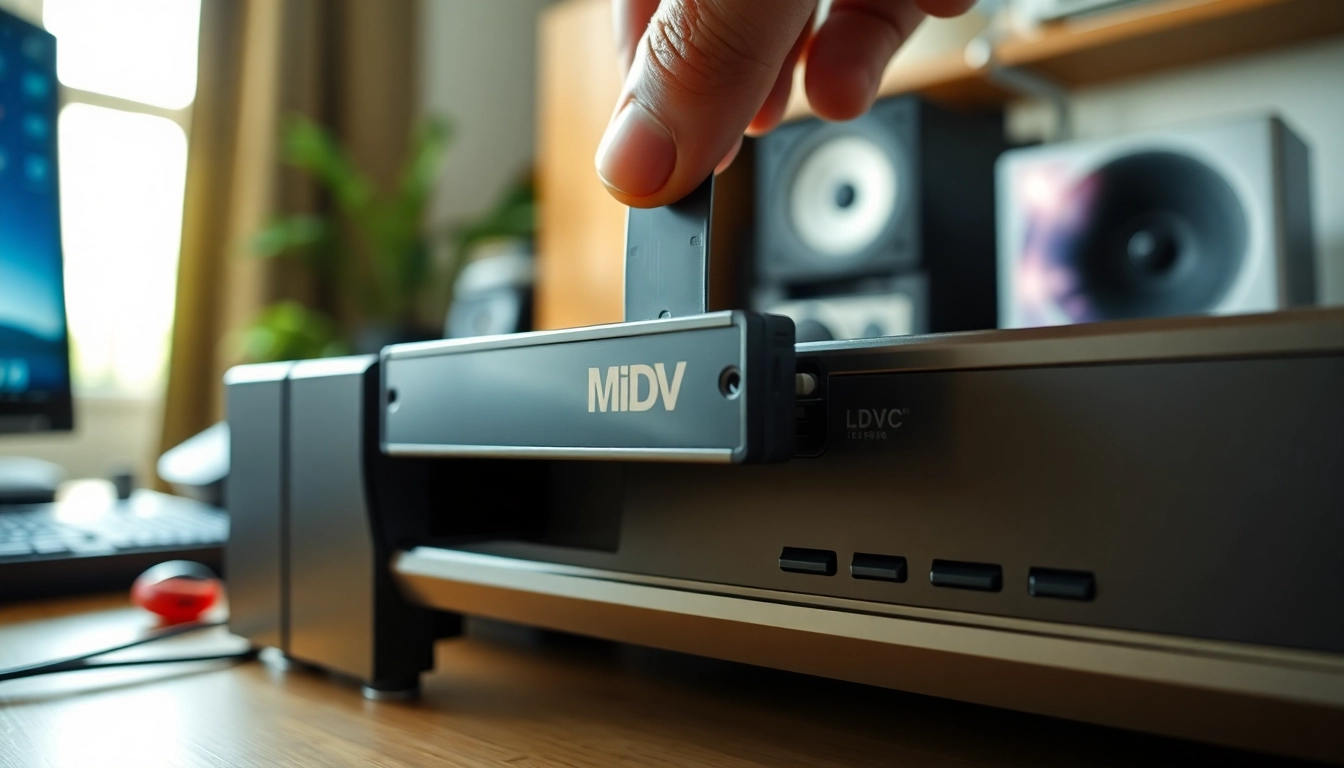
Using Hardware: The Best Devices for Conversion
Utilizing hardware for conversion is often considered the most effective approach for preserving video quality. Here are some hardware options for converting MiniDV to digital:
- FireWire Connections: Many digital camcorders or tape players come equipped with FireWire ports, allowing you to connect directly to a computer to transfer video.
- USB Capture Devices: External capture devices can convert analog signals from the MiniDV camcorder to a digital format that your computer can read.
- Professional Video Converters: Devices like those offered by ClearClick can directly convert MiniDV tapes to digital formats without requiring a camcorder.
Software Solutions: Digital Conversion Options
If you opt for hardware that connects to a computer, you will need software to facilitate the conversion. Here are notable software solutions:
- Adobe Premiere Pro: Widely recognized in the film industry, Premiere Pro can handle MiniDV imports and provides extensive editing features.
- iMovie: For Mac users, iMovie integrates seamlessly with MiniDV camcorders and provides an intuitive interface for video editing.
- Windows Movie Maker: A viable option for PC users, this software allows for easy import and editing of video from MiniDV tapes.
DIY Home Setup for MiniDV Conversion
For those comfortable with a bit of DIY, setting up a home conversion station can save both time and money. Here’s a simple step-by-step guide:
- Gather Equipment: You will need a MiniDV camcorder or a compatible player, a FireWire or USB cable, and a computer with the appropriate software installed.
- Connect Devices: Connect the camcorder to your computer using the FireWire port or USB cable.
- Launch Software: Open your video editing software and select the capture option.
- Play and Capture: Press play on the camcorder and start the capture in your software, allowing it to digitize the footage.
- Save Files: Once the capture is complete, save the file in a digital format of your choice, such as MP4 or AVI.
Choosing a Professional MiniDV to Digital Service
If the DIY route seems daunting or if you have a large collection of tapes, hiring a professional service may be the best option. Here’s what to consider:
What to Look for in a Conversion Service
When choosing a service to convert your MiniDV tapes to digital, consider the following:
- Reputation and Reviews: Research reviews and testimonials to gauge customer satisfaction.
- Quality of Service: Ask about their quality assurance practices to ensure that your footage will be treated with care.
- Formats Offered: Ensure the service offers your preferred output formats and resolutions.
Common Pitfalls to Avoid with Services
While seeking out a professional conversion service, be wary of these common pitfalls:
- Hidden Costs: Ensure to understand the full pricing structure upfront to avoid unexpected charges.
- Data Loss Risks: Inquire about their data handling practices to safeguard against loss during the transfer process.
- Low-Quality Transfers: Always check for service samples to avoid low-quality outputs.
Comparing Costs: Is DIY or Professional Better?
When weighing the cost of DIY conversion against professional services, consider these factors:
- Equipment Costs: Initial investment in hardware and software for DIY may seem steep but can pay off if you have numerous tapes.
- Time vs. Money: Professional services charge for convenience and expertise, which can save you considerable time.
- Quality: Evaluate whether the level of quality you need justifies the expense of professional services.
Preserving Quality During the Conversion Process
Quality preservation is crucial during the digitization process. Ensuring that your converted files maintain their original quality will keep your treasured memories clear and vivid.
Understanding the Impact of Compression on Quality
Compression algorithms, while essential for reducing file sizes, can impact video quality. Here are some key points regarding compression:
- Lossy vs. Lossless: Understand the difference; lossy compression sacrifices quality for size, while lossless maintains original quality at the cost of larger file sizes.
- Choose the Right Format: When exporting your digital files, consider formats like AVI or MOV for lossless options or MP4 for a balance of size and quality.
- Bit Rate Settings: When converting, select appropriate bit rates to maintain quality, especially in high-motion scenes.
Best Practices for High-Quality Digital Files
To ensure the best quality for your digital files, adhere to the following best practices:
- Use High-Quality Equipment: Invest in reliable capture devices and cables to minimize signal loss.
- Regular Maintenance: Keep capturing devices clean and properly maintained to ensure optimal performance.
- Backup Files Locally and Remotely: Regular backups prevent loss from hardware failures, improving the longevity of your digital content.
Storage Options for Your Converted Videos
Once you’ve converted your MiniDV tapes to digital, you have various storage options to consider:
- External Hard Drives: Great for local storage, these provide ample space for large video files.
- Cloud Storage: Services like Google Drive or Dropbox allow for easy access and sharing from anywhere.
- USB Flash Drives: Portable and easy to use, they are excellent for transporting files or sharing with others.
Recap and Next Steps for MiniDV Conversion
After exploring the essentials of MiniDV and the conversion process, it is crucial to summarize and determine your next steps.
Summarizing Your Options for Minidv to Digital
In recap, your options for converting MiniDV tapes to digital include DIY methods using hardware and software or outsourcing the work to a conversion service. Both approaches have their merits and can yield great results if executed properly.
Planning for Long-Term Archival of Digital Files
As you digitize your MiniDV tapes, think long-term about how to preserve and archive these digital files. Implementing a structured naming convention, maintaining organized folders, and establishing a regular backup schedule will help keep your digital archive in top shape.
Engaging with User Communities for Support
Don’t hesitate to reach out to user communities and forums for support during your conversion journey. Platforms like Reddit offer rich discussions, tips, and shared experiences that can guide your process and help you avoid common pitfalls. Connecting with others who have completed similar projects can provide invaluable insights and encouragement as you move forward.