Understanding Minidv Tapes and Their Importance
What Are Minidv Tapes?
MiniDV tapes are a type of digital video format that emerged in the late 1990s, designed primarily for consumer camcorders. They are compact, measuring just 1.5 inches by 2.5 inches and have a tape length of approximately 60 to 90 minutes, depending on the recording mode. MiniDV employs digital recording technology where video is recorded in a compressed format, facilitating high-quality video capture compared to analog formats. The introduction of MiniDV brought a revolution in video recording, as it allowed users to achieve near broadcast quality without the bulky equipment associated with professional video recording.
Why Convert Minidv to Digital?
As technology advances, heritageformats like MiniDV face obsolescence. Converting MiniDV to digital is essential for several reasons:
- Preservation of Memories: Many personal and professional memories captured on MiniDV tapes risk degradation due to the physical nature of tapes, making digital preservation a crucial step.
- Accessibility: Storing videos in a digital format allows for easier access and sharing. Digital files can be stored on cloud services, hard drives, and USB devices, facilitating quick retrieval.
- Enhanced Editing and Sharing: Digital files can be easily edited using modern software, providing options to enhance video quality or create compilations of cherished moments.
- Space-Saving: Digital files take up significantly less physical space than tape storage, enabling more efficient organization of media collections.
To start the journey of converting your Minidv to digital, understanding the potential benefits and the risks associated with neglecting this transformation is paramount.
Common Challenges in Conversion
While converting MiniDV tapes to digital holds numerous advantages, several challenges may arise during the process:
- Equipment Limitations: The devices used to playback MiniDV tapes may become hard to find as technology advances. Ensuring access to compatible players is crucial.
- Quality Loss: During conversion, there’s a potential for quality loss if not executed properly. Understanding how different formats and codecs work is vital to preserving video integrity.
- Time Consumption: The conversion process can be time-consuming, especially for large collections of tapes. It often requires patience and careful handling to ensure optimal results.
- Technical Proficiency: A moderate understanding of technology may be necessary for executing conversions and troubleshooting issues that arise during the process.
Choosing the Right Tools for Conversion
Popular Devices for Minidv to Digital
Choosing the right device for converting MiniDV tapes is fundamental to achieving high-quality results. Here are some popular devices that can facilitate the conversion process:
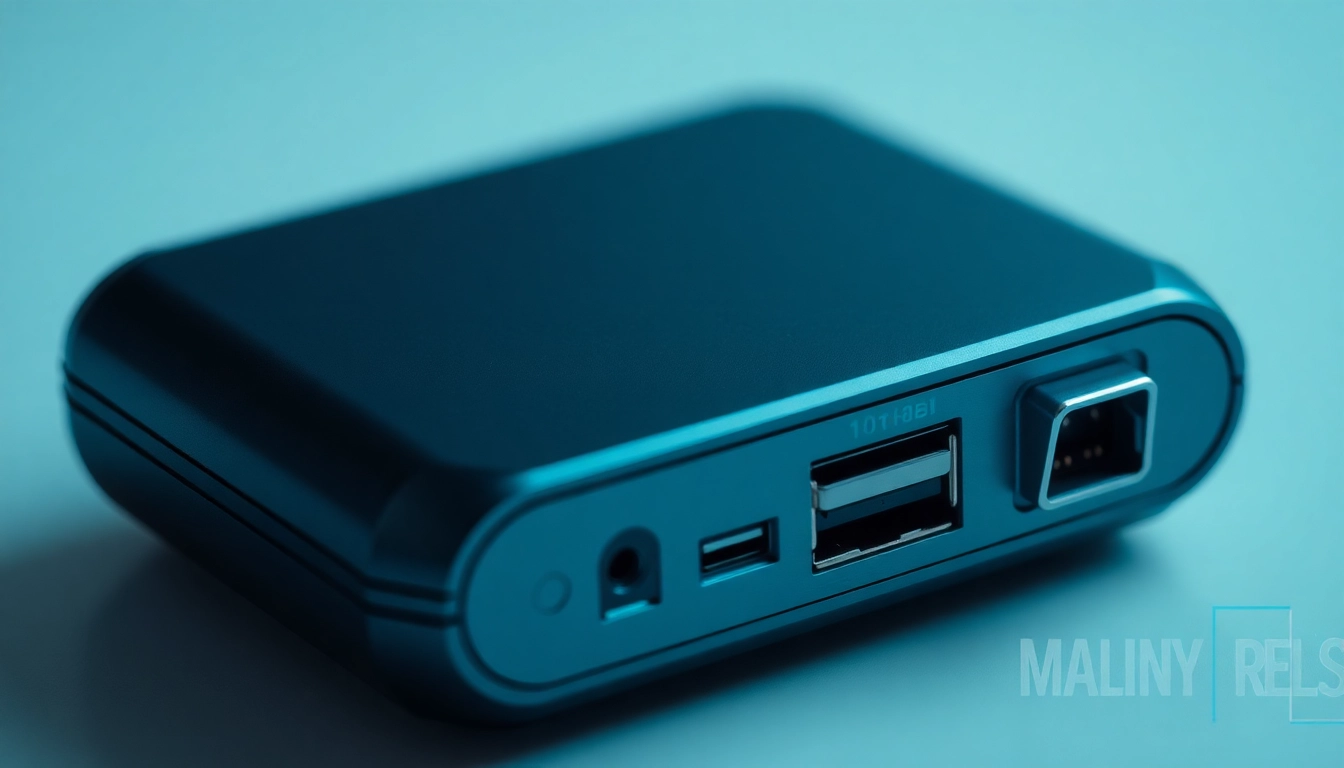
- MiniDV Camcorder: One of the most straightforward methods involves using the original MiniDV camcorder. Connect it to a computer via an IEEE 1394 FireWire connection, which allows for transferring video directly to your digital platform.
- Video Capture Devices: Devices like Elgato Video Capture or Adapting video capture devices that connect MiniDV players to the computer offer excellent flexibility. They often come with software to facilitate the transfer process.
- Professional Services: For those who might find the conversion process daunting or too technical, hiring professional video conversion services can ensure high-quality results without the hassle of setup or execution.
Software Options for Digital Conversion
Alongside hardware, the right software is essential for the efficient conversion of MiniDV tapes. Some notable software include:
- Adobe Premiere Pro: A comprehensive tool for video editing that also supports capture and conversion of video directly from MiniDV.
- iMovie: For Mac users, iMovie is an excellent tool for capturing video and basic editing, making it user-friendly for beginners.
- Camtasia: Not specifically designed for MiniDV but offers options for recording supplementary commentary during conversion, useful for creating tutorials or enhancements.
Cost Considerations in Converting Minidv
Cost is often a significant factor when considering the conversion of MiniDV to digital. Various components contribute to the overall expense:
- Equipment Costs: Depending on the quality of the camcorder or capture device, prices can range significantly, impacting overall budget.
- Software Licenses: Some software tools are free, while others require purchase or subscription, which can add to the expense.
- Professional Services: Hiring a company for conversion services can be more costly but may save time and yield superior results.
Assessing your budget and prioritizing high-quality equipment can help minimize costs while ensuring desirable outcomes.
Step-by-Step Guide to Convert Minidv to Digital
Preparing Your Equipment
Preparation is a crucial step in successfully converting MiniDV tapes to digital formats. Here’s how to get started:
- Gather Necessary Equipment: Ensure you have a functioning MiniDV camcorder or player, cables for connecting to your computer, and any additional accessories like USB adaptors if necessary.
- Software Installation: Install the conversion software of your choice. Familiarize yourself with its features and prepare for the capturing process.
- Test Your Setup: Before beginning the actual conversion, run a test with a single tape. Check connections, ensuring that the video and audio transmit correctly during preview.
Executing the Conversion Process
Once you’ve prepared your equipment, you can proceed with the conversion process. Follow these steps for optimal results:
- Connect Equipment: Connect your MiniDV camcorder to your computer using the appropriate cable (typically FireWire), ensuring a secure connection.
- Launch the Software: Open your chosen software and follow the prompts to start capturing video. Be patient! Capturing video can take time, depending on tape length.
- Monitor the Process: Waiting for the entire tape to transfer is crucial. Monitor the capturing process, watching for interruptions or errors that may require troubleshooting.
- Save Files: Once the capture is complete, save the files in a preferred format, making sure to organize them in a coherent manner for future access.
Troubleshooting Common Issues
Despite thorough preparation, challenges may arise during MiniDV conversion. Here are some common issues and solutions:
- No Signal: If your computer does not detect the MiniDV camcorder, check the cable connections and ensure the camcorder is powered on and set to play mode.
- Quality Issues: If there’s noticeable degradation in video quality, look into the settings of your software to ensure the correct settings are being used for conversion.
- Intermittent Dropouts: This often signals poor tape condition. Gently cleaning the tape heads in the camcorder might alleviate dropouts caused by dirt or debris.
Preserving Quality During the Conversion
Compression vs. Quality: Finding the Balance
One of the most critical aspects of converting MiniDV to digital is understanding the tradeoff between compression and quality:
While digital formats often involve compression to reduce file sizes, excessive compression can result in notable losses in detail and color fidelity. Finding an optimal balance between size and quality is essential. Formats like MPEG-2 and AVCHD maintain better quality than other formats such as AVI or MP4 when compressing content from MiniDV.
Tips for Maintaining Video Integrity
Maintaining the integrity of your video during conversion requires careful attention to detail. Here are several actionable tips:
- Use High-Quality Cables: Poor-quality cables can introduce noise and affect video quality during transfer. Invest in reliable and high-quality connections.
- Avoid Over-Compression: When exporting your digital files, choose higher bitrate options to preserve quality, especially if you plan to edit the video later.
- Check Settings: Before capturing, review the settings in your software, making adjustments according to your desired output quality.
Format Options After Conversion
After conversion, you’ll need to decide on the format for your digital videos. Some commonly used formats include:
- MP4: A versatile format that balances quality and file size, making it suitable for web use and sharing.
- Avi: A format supportive of high-quality video, but it results in larger file sizes, which may be less ideal for storage.
- Mov: Exclusive to Apple; this format is essential for users intending to edit videos in iMovie or Final Cut Pro.
Future of Video Storage: Beyond Minidv
Trends in Digital Video Technology
As video technology progresses, new trends emerge that enhance how we store and manage video data:
- Cloud Storage: With the rise of cloud computing, services like Google Drive and Dropbox offer options for backing up and sharing digital videos effortlessly.
- Streaming Services: The growth of platforms like YouTube and Vimeo allows for instant access to videos across devices, emphasizing the shift toward digital solutions.
- Improved Compression Algorithms: Emerging technologies are permitting higher-quality video storage with lower file sizes, making archiving manageable for individual users.
Archiving and Organizing Your Digital Videos
Once your MiniDV videos have been successfully converted and stored digitally, proper organization is key to managing your collection:
- Create a Systematic Folder Structure: Organize videos by year, event, or family members to simplify navigation when searching for specific content.
- Use Descriptive Titles: Clearly label your files, incorporating dates or events to ease identification during searches.
- Regular Backups: Always maintain copies of your videos in multiple locations, including external hard drives and cloud storage, to ensure against data loss.
Conclusion: Embracing Digital Video Solutions
Converting MiniDV to digital is not just about preserving old memories; it’s about embracing a more adaptable, efficient, and accessible way of managing video content. By understanding how this conversion works and implementing the right tools and techniques, you can ensure that your cherished moments are not only saved but remain easily retrievable for future generations. As technology continues to evolve, so does the approach to video storage and accessibility. Take the step now to convert your MiniDV tapes and experience the benefits of transitioning to digital!