Understanding VHS to Digital: What You Need to Know
What is VHS and Why Convert?
Video Home System (VHS) is an analog video recording format that revolutionized home video by allowing users to record television shows and watch movies at home. Despite its popularity in the late 20th century, technological advancements have rendered VHS tapes obsolete. Converting VHS tapes to digital format is essential for preserving precious memories that would otherwise be lost due to tape degradation. By digitizing these tapes, users can safeguard their videos against wear and tear, making them easier to store, share, and access over time. More importantly, the transition to VHS to Digital allows for improved quality and compatibility with modern devices.
The Benefits of Going Digital
Transitioning from VHS to digital brings numerous benefits:
- Preservation: Digital files are less susceptible to degradation than physical tapes, which can deteriorate over time, losing both audio and video quality.
- Accessibility: Digital formats allow for easy access from computers, tablets, and smartphones, enabling sharing with family and friends, regardless of location.
- Space Saving: Digital storage requires significantly less physical space compared to storing boxes of videotapes.
- Editing Capabilities: Digital files can easily be edited or enhanced using software tools, allowing for creative projects and compilations.
- Multiple Formats: Once converted, videos can be saved in various formats (like MP4, AVI, etc.) suitable for different uses, from social media sharing to archival purposes.
Common Formats for Digital Storage
When converting VHS tapes, it’s important to choose a suitable digital format for storage. Common formats include:
- MP4: Highly compatible and efficient for storage, making it ideal for sharing and streaming.
- AVI: A less compressed format, preserving quality but taking up more space, suited for high-quality archival.
- WMV: Useful for Windows-based systems, offering compression without notably sacrificing quality.
Methods to Convert VHS to Digital
DIY Options: Equipment and Software
For those looking to take a hands-on approach, several methods and equipment are available for DIY conversion:
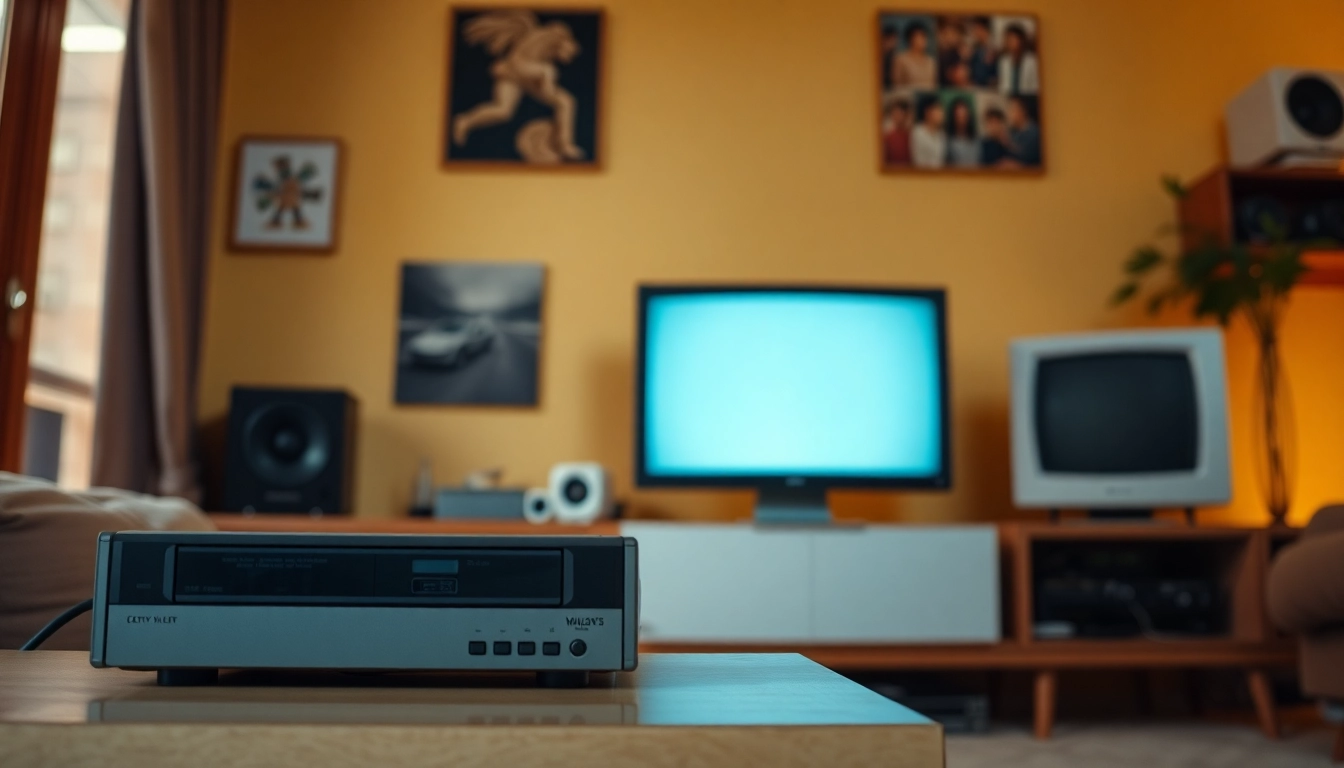
- VCR and Capture Card: This method requires a functioning VCR, a video capture card (such as the EasyCap or other USB converters), and a computer with video editing capabilities. Connect the VCR to the capture card and the card to the computer, then use software like OBS Studio or VLC to record the playback.
- DVD Recorder: A DVD recorder can directly convert VHS to DVD format, but may limit editing options afterward.
- Dedicated VHS to Digital Converters: Devices designed specifically for this purpose can simplify the process, providing a straightforward setup and often including built-in editing tools.
Professional Services: When to Consider
While DIY options are viable, professional services may be a better option in certain situations:
- Quantity: If faced with a large volume of tapes, outsourcing can save time and ensure a consistent quality.
- Condition: Tapes in poor condition may benefit from professional-grade equipment and expertise that provide superior extraction quality.
- Convenience: Handing off the task removes the hassle of setup and troubleshooting; ideal for the busy individual.
Choosing the Right Converter: A Comparison
Choosing the right converter is critical. Here are factors to consider when selecting hardware:
- Compatibility: Ensure the converter works with both your VCR and your computer’s operating system.
- Resolution: Look for converters that can handle high resolutions, typically 720p or higher, for the best results.
- User Reviews: Check customer feedback on reliability and ease of use.
Step-by-Step Guide to DIY Conversion
Setting Up Your Equipment
Once you’ve decided to proceed with a DIY conversion, follow these steps to set up your equipment:
- Gather Equipment: Collect your VCR, video capture device, computer, and necessary cables.
- Install Software: Download and install the video capture software of your choice, such as OBS Studio or Windows Movie Maker.
- Connect Devices: Connect the output of your VCR (AV out) to the input of your capture device. Then, connect the capture device to your computer via USB.
Recording Your VHS Tapes
Once everything is set up, start the recording process:
- Prepare for Playback: Insert the VHS tape and cue it to the beginning.
- Start Your Software: Open your capture software and select the appropriate video source.
- Hit Record: Start the recording process on your software and press play on the VCR.
Monitor the conversion process to ensure everything is functioning correctly.
Editing and Storing Your Digital Files
After capturing your footage, you may want to edit the files:
- Trim Unwanted Sections: Use editing software to adjust the video by removing unwanted sections at the start or end.
- Enhance Quality: Consider adding enhancements or filters available in most editing software to improve video quality.
- Export Formats: Export the final project into your chosen digital format, ensuring it’s saved to an accessible location.
Common Issues and Troubleshooting
Quality Loss: How to Avoid It
Quality loss is a common concern when converting analog to digital. Here are tips to mitigate this issue:
- Use Quality Equipment: Invest in a good quality capture device that supports higher resolutions.
- Adjust Settings: Use software settings that allow for less compression during the capture process.
- Regular Maintenance: Ensure that your VCR and tapes are well-maintained to avoid playback issues.
Playback and File Format Issues
Playback issues can occur if the file format is incompatible with your device. To avoid this:
- Convert to Popular Formats: Always convert your files to widely accepted formats such as MP4 for compatibility across platforms.
- Test Playback: Verify the files on multiple devices to ensure functionality.
Preserving Your Digital Files Long-Term
Once your VHS tapes have been digitized, prioritize the preservation of these digital files:
- Multiple Backups: Store copies on external drives and cloud services to safeguard against data loss.
- Regular Updates: Refresh your storage methods every few years to avoid format obsolescence.
Future Trends in VHS to Digital Conversion
Innovations in Conversion Technology
The landscape of VHS to digital conversion continues evolving with new trends and emerging technologies:
- Cloud-Based Solutions: More services are offering cloud storage solutions that allow for easy access and sharing.
- Artificial Intelligence: AI tools are being developed to enhance video quality and automate the editing process, providing users with frictionless experiences.
Market Trends: Demand and Services
As nostalgia continues to drive interest in older media, the demand for VHS to digital conversion services is rising:
- Increased Professional Services: There are now more options for professional conversion services, offering competitive pricing and enhanced service quality.
- DIY Kits: More consumer-friendly DIY conversion kits are available on the market, making the process more accessible to non-tech-savvy individuals.
Advice for the Next Generation of Video Storage
For those concerned about the sustainability of video storage, here are some recommendations:
- Choose Versatile Formats: Opt for formats that remain widely supported, such as MP4, to future-proof your digital library.
- Regular Reviews: Schedule regular reviews of your digital library to ensure file integrity and change outdated formats if needed.